![]()
Recently I started simply cleaning out our bathroom vanity cabinets and next thing I knew I was giving the whole room a big makeover. The cabinets were chipping, the floors peeling and I was ready for a new look. I shared the other day how I updated the shower and you won’t believe the difference! You can read about it here How To Update An Old Shower On A Budget. Did I mention this whole makeover was under a pretty tight budget? I’ve always said how magical paint can be, and this project is a perfect example. Come check out the details…
First, let’s take a look at the vanity before. I know, they were pretty and not much wrong with them. However, I was ready for a new look and the cabinets were chipping so they needed a definite refresh. I wanted to create a cozy, spa-like vibe, and wood adds so much warmth to a space I decided to try a faux wood paint finish.

I really wanted to make them look like a piece of furniture and have more character and texture.

Step 1
Prep work is so important when painting cabinets. That was one mistake I made the first time I painted the cabinets. I also didn’t remove the cabinet doors and I definitely recommend that step. Once I removed the doors, I lined them up and thoroughly cleaned them with a degreaser. Then I lightly sanded and cleaned them again.
Step 2
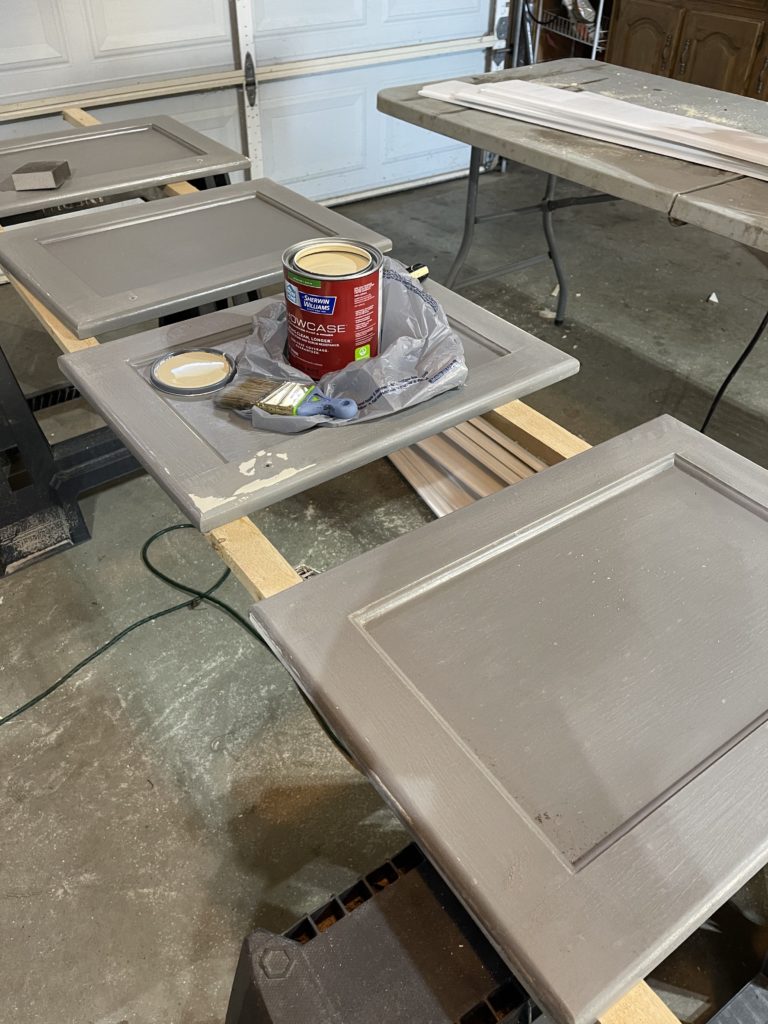
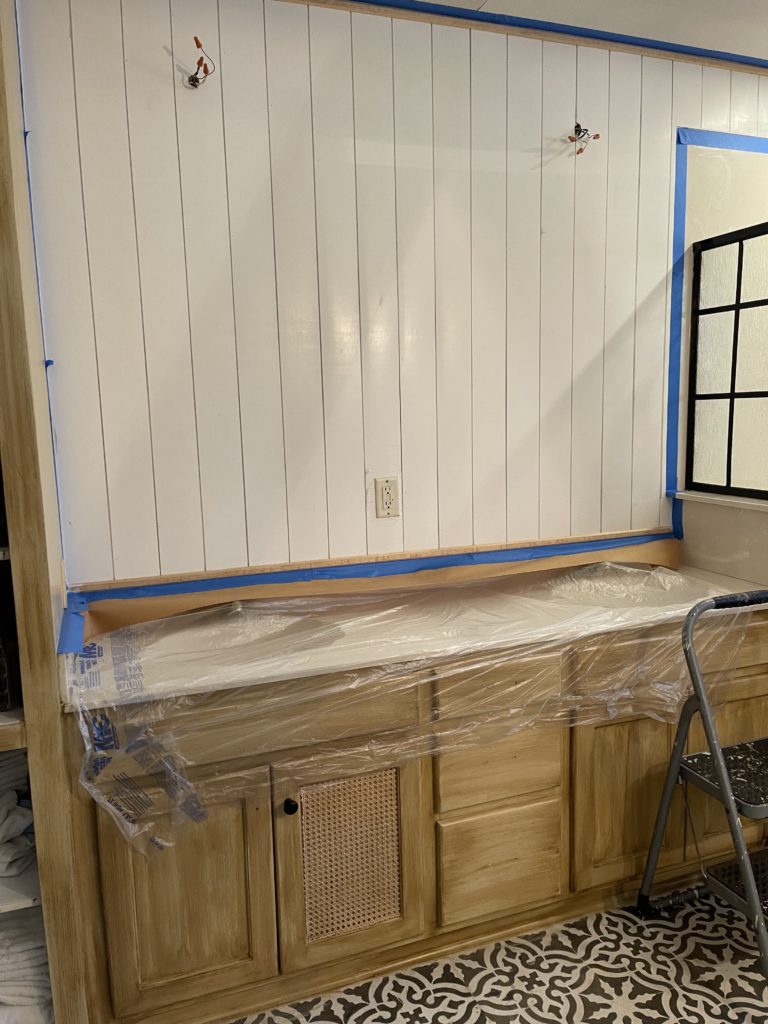
To create a wood stained look finish there’s a step process. The colors you use depend on the wood grain look and color you want. I found a great resource here, https://renovatedfaith.com/. She shares various color combinations based on the wood color you are wanting to achieve. For this look I started with the Sherwin Williams color Flaxseed. I painted 2 coats, thoroughly dryng in-between coats. While the cabinet doors were drying, I prepped and painted the cabinet surround areas.

Here you can see the difference between the first color and after the second glaze layer has been added.
Step 2
Once your first paint color is dry, it’s time to add the second layer which is your glaze. I did a mixture of latex paint in the color VanDyke brown, glaze and water. The ratio is 2 parts paint, 2 parts glaze and 1 part water. You really don’t need much at all. Then using a paint brush you add your glaze mixture on the brush lightly, then unload a little onto a cloth or rag. Using light strokes brush the mixture keeping the strokes the same direction in long straight strokes. On the https://renovatedfaith.com/, she has a great demo video on how to do it.
It’s actually very simple and you have time to correct any areas you don’t like. You can wipe off quickly and redo any area, it’s very forgiving.

Step 3
To protect the new paint job I added a final coat of a poly acrylic top coat finish.

To add more character to the cabinets, I added some left over cane with wood glue in the center of the cabinet doors. Then trimmed it off. I love the added texture and visual appeal it gives the cabinets. We also added some wood furniture legs we cut to fit. It’s amazing how much it updates the design of the vanity.
Since I decided to update the shower by painting it black, I went with black hardware from Battle Creek Hardware. I love how it pops against the newly finished cabinets.

The total cost for the updated cabinets was under $100. I’m so happy with the update, it was not only inexpensive, but very simple to do.

Can you believe how different this space looks? I will be revealing the entire space soon so watch for that. Make sure you are subscribed to my weekly newsletter so you won’t miss a post. I will have lots of fun Spring styling projects and updates to do.


")


Nice blog you write dear,
This is just the blog I needed to get me motivated. I may have overlooked but didn’t see where you mentioned the shiplap color. I would like to know the color you used, please.
Hi Lucy!
Glad you enjoyed it! Sorry forgot to mention that. The paint color is Urbane Bronze in satin by Sherwin Williams.
thanks for following along
xoxo
Reading your article helped me a lot, but I still had some doubts at the time, could I ask you for advice? Thanks.
Beautiful bathroom!! We’re in the midst of remodeling our master bath and I’m using black ship behind the sinks also. I was wondering what tile you used on your floor. That’s where I’m struggling!! Thank you!