
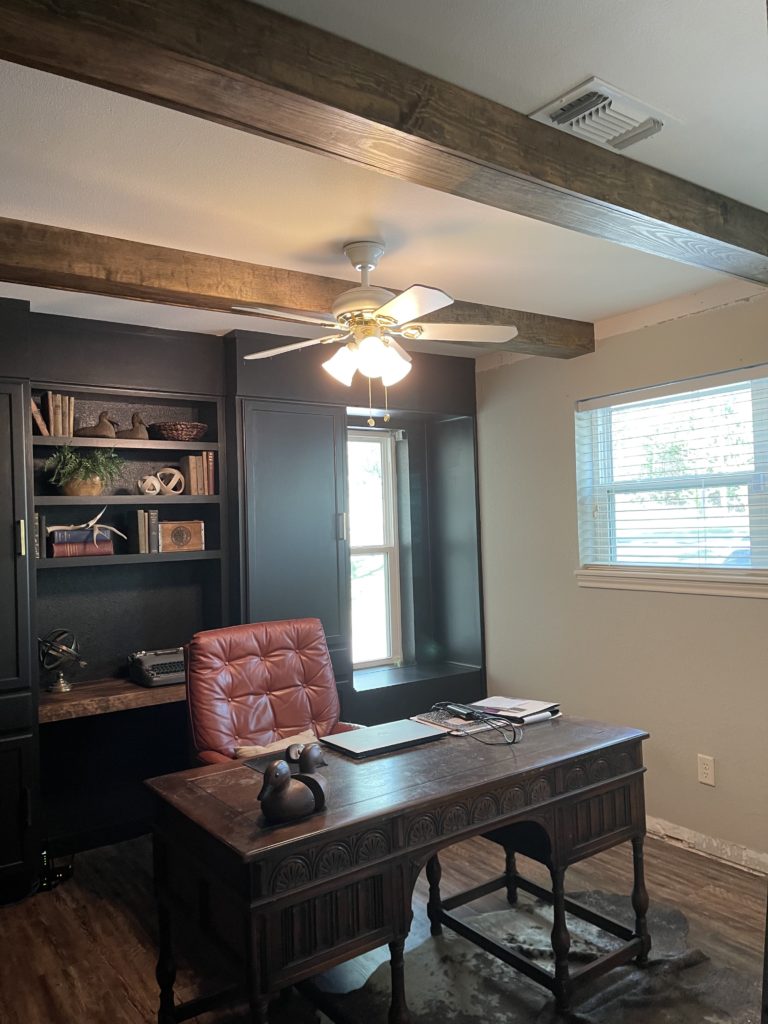
I am so in love with our new home office update. Creating something and bringing it to life is so satisfying. I had this vision in mind for so long and we are so pleased with the results. My intention was to create a rustic industrial vibe and I knew that brick would really make this room pop. However, I wanted it to be attainable to create and inexpensive. This feature wall was so easy to do. Come check out the simple steps to make your own brick wall.
This room was a complete empty slate. We constructed the built ins, a vertical shiplap wall, faux beams and then this brick feature wall. To see more details of this project you can visit this post Beautiful DIY Office Update Part 1, Beautiful Home Office Update Part 2
Supplies Needed:
- Brick paneling sheets- They come in 4’x8′ sheets
- Brad nailer
- Lightweight joint compound
- Putty knife
Step 1
Measure out your wall and cut your panels to fit your space. I wasn’t concerned with the seams but if you’d prefer not to have them you can cut around the brick and puzzle it together. The look I want’ed was quite rustic as if it was an old building with exposed plaster walls and brick behind. The seams are part of the character but it’s a personal preference.


You’ll also have to measure around the light switches and panels and cut for those spaces.


Step 2
Next, apply your joint compound scooping with a putty knife and spreading on the brick like frosting a cake. Once again it’s a total preference on how thick or thin to apply it. You have plenty of time to work with the product and move it around.


I suggest you start out lightly then if you want it heavier you can easily go back over it. The compound is very easy to work with. Just remember there is no perfect or wrong way to create this look. I wanted it to be heavier in some places and lighter in other.

Once you get the hang of it, you can move pretty quickly. Just don’t get too worried about making it perfect or uniform. The irregularity of the look is part of the character. I didn’t do a finish on top of it because it’s not in a high traffic area. Since I didn’t use a top coat, I can’t really recommend a product .


That’s all there is to it, super easy and fun. I love how it turned out the and vibe it added to the room is amazing. It also looks so realistic.

Overall this entire room was a challenge but since we broke up each section into segments and worked through each one at a time it made the work less overwhelming. I’m so proud of our work and that we took the challenge and ran with it. We aren’t professionals in home projects but we take our time, research and work through the projects to the best of our ability. If we can do this, anyone can I promise.
Be sure to subscribe to my weekly newsletter so you won’t miss a post. I’ll be sharing how we created the faux wood beams soon so stay tuned.
SHOP THE POST

Happy Decorating


")


Great tutorial. Thanks a lot!
Just checked your list of Blog Commenting Sites and find it amazing. I’ll surely come back to you for more tips and sites that help me out. Thanks.