
Who loves a quick and easy project with a big impact? I know I do and this one turned out so great. It was also super fun working on this at our son and daughter-in-law’s home. They’ve been wanting to do this DIY shiplap wall project for a while so we were thrilled to work on it together. Since they are starting our with their first home and DIY projects, I thought this would be the perfect place to start. Come check out the before first…
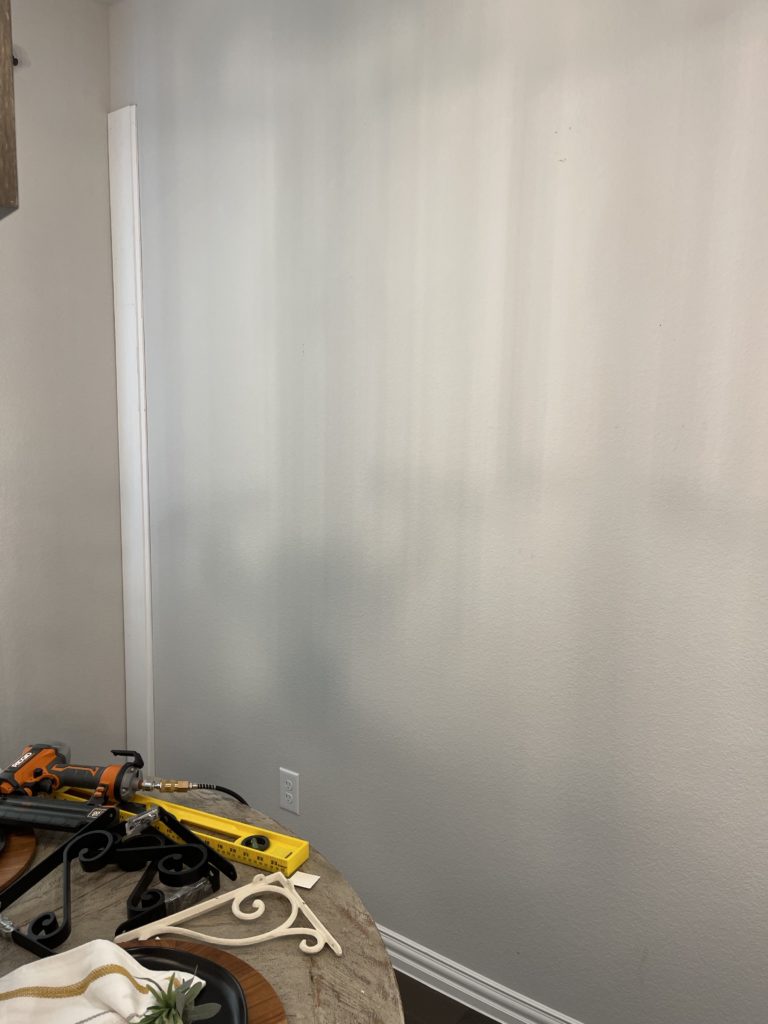
This area is in their eat in kitchen dining room. They don’t have a formal dining room and this is in a big open concept space so they wanted a fun feature wall and wow factor. The wall is about 101″ x 8′ tall so its’ a pretty small space to start with. They wanted some texture and the ability to display some items as well.

Creating feature walls is a great way to add some character to a room without a huge expense or big commitment to an entire area. We have created a few feature walls in our home and you can read about them here Easy, Inexpensive Updates For A Bedroom, How To Update A Boring Hallway With Board And Batten & A Gallery Wall

Supplies:
- Shiplap- we purchased this type at Home Home depot. They interlock and come to about 5 1/5″ in width (minus the lip) so about 4 1/2″ when you figure your number of boards
- Brad Nailer
- 10″ board for shelf
- Shelf brackets- we used 3 but it will depend on your wall size for how much support is needed
- Caulk
- Paint of your choice- we used Behr Marquee in the color Black satin finish
To figure out how many boards you’ll need divide the wall width by the shiplap board width. Our project for a 101″ wall took about 23 boards total.

First, line up your first board and hold a level to it to get it straight. Don’t depend on your wall to level the board. Once its’ level. use your brad nailer to attach. Be sure to go in the board at an angle so the board will catch better.

Once your boards are up, attach the brackets to the board and hang above your shiplap edge. We painted the board first to make it easier for clean edges. We also added a piece of trim to the unfinished edge.

Next fill holes or any areas where you have gaps with caulk then paint. We did not remove the floor trim to create this look but you can always remove it. There is a slight hang over the edge but it’s hardly noticeable.

I love how it gives the appearance of more height in the room. The shelf is a nice touch for creating small displays and vignettes.
This was easily done in a day and was reasonably inexpensive in spite of the high lumber costs. The entire project was about $250. They are so proud and please with how it looks. It’s such a great feeling when you can complete projects like this on your own and it’s definitely doable for a first time DIY’er.
Be sure to sign up for my weekly newsletter to stay updated on all the latest news and updates here at Hip & Humble Style. Thanks for following along friends.
Happy Decorating
DIY Shiplap Wall Project


")


I looks so much better then the original look! I love the change. You and black are close friends! Ha!
Hi Karyn,
Thanks glad you like it! And yes I love pops of black in the home ! 🙂
xoxo Deborah
Howdy, I think your web site could possibly be having browser compatibility issues. When I take a look at your site in Safari, it looks fine however, if opening in IE, it’s got some overlapping issues. I just wanted to provide you with a quick heads up! Other than that, great website!
bookmarked!!, I love your web site!
maria bingo free spins
online casino nz
spin casino 1 dollar deposit