
I absolutely love to make homemade items to give as gifts. This year I’m hosting a Friendsgiving gathering and wanted to give a sweet little gift to my girlfriends. I have several posts with homemade gift giving ideas here : How To Make A Pretty And Easy Mother’s Day Gift With Homemade essential oil products or here: Simple, Inexpensive & Pretty Homemade Gift wrap & card ideas-(perfect for mothers day or teacher gifts) This time I making some homemade soaps. I decided to make up some other fragrances while I was at it to use for Christmas gifts. Making soaps is so easy and fun, you can get creative any design any combination fragrances you want. Here are the soaps that I put together..
Making soaps is so simple and inexpensive. You can design any combination of fragrance you love and have fun with it. For my friendsgiving gathering I wanted a fall fragrance that would go with the theme of the party so I created a fall spice recipe.
Fall Spice

Supplies:
- honey glycerin soap base-2lb (1 lb makes 6 bars-this is what I used for each batch)
- orange essential oil
- bergamot essential oil
- cedarwood essential oil
- thieves essential oil (or a combination of cinnamon, cloves, nutmeg)
- silicone soap molds
- crushed nuts
- burlap ribbon
- twine
- cinnamon sticks
- paper sacks
- tags of your choice (details on what I made at the end of the post)

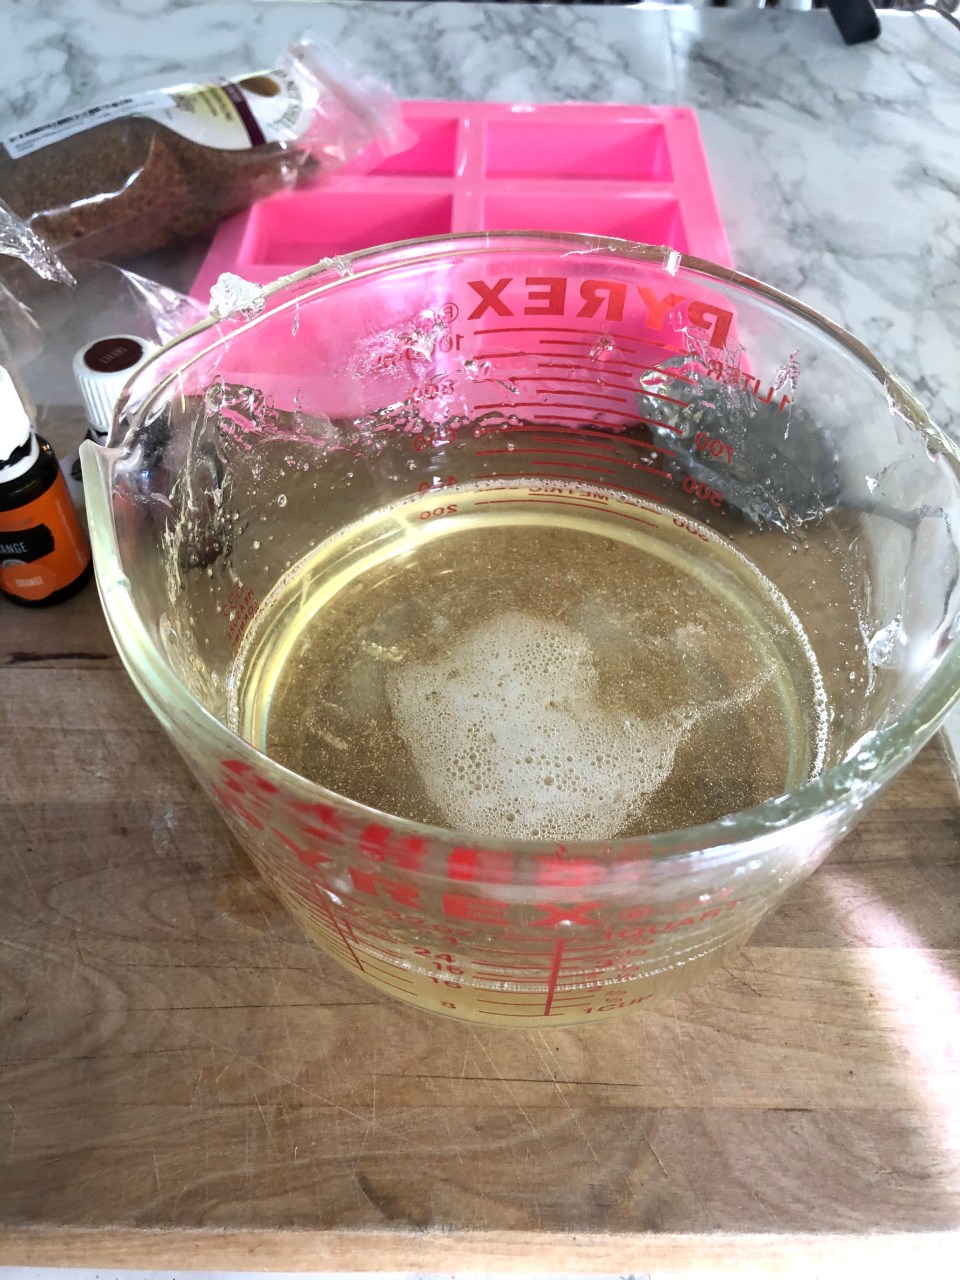
First, cut 1lb of your soap base block into cubes and place in a microwave safe glass bowl or pyrex. Cook for a total of 2 minutes in 10 second increments and stir in between each stop.


Once your soap base is completely melted, add your crushed nuts and oils. I added 30 drops of orange, 15 drops, bergamot, 15 drops cedarwood, 20 drops thieves. You can add the amount of fragrance based on your tastes. Obviously the more drops you add the stronger the smell so experiment with it. Start with smaller amounts then add as needed until you get the smell you like.


Then, pour your liquid soap into the molds. Set aside and let them set up. The timing on this will depend on the temperature of your room and humidity levels. Mine we solid in about 2 hours.

Next pop your soaps out of the mold and wrap however you want to present them. I wrapped mine with burlap ribbon and used some twine to tie a tag and cinnamon stick to embellish them. Have fun with the wrapping part there are so many options .

Lavender & Oatmeal


Supplies:
- goats milk soap base (2lb block-1 lb makes 6 bars- this is what I used)
- lavender essential oil
- rosemary essential oil
- 1T dried fresh lavender
- 1/4 c quick cooking oats
- burlap ribbon
- dried lavender sprig
- tag of your choice


The same process applies for this recipe. Melt your goats milk soap base then add the dried lavender and oats. Mix well then add 30 drops of lavender- again according to your fragrance strength preference. Pour the soap mix into molds and let set.


Rosemary & Citrus

Supplies:
- goats milk soap base- 2 lb block (1 lb makes 6 soaps)
- orange essential oil
- lemon essential oil
- rosemary essential oil
- 1 T lemon zest
- 1T orange zest
- 1T chopped fresh rosemary
- burlap ribbon
- rosemary sprigs
- tags of your choice

Melt your soap base as directed in the other soaps, once melted add your lemon and orange zest along with the chopped rosemary. Next add your essential oils to your liking. I did 20 orange and 15 rosemary. After everything is combined, pour into your soap molds and let set. Decorate or wrap as desired.


I think the best thing about giving homemade gifts is the fun you can have in wrapping and presenting them. I had so much fun with this. I wanted them to look pretty and simple by spotlighting the beauty of the soap. I love the simplistic look of these metal tags and had fun making them with this stamping set from Michaels (not sponsored) .


This stamping kit is really simple to use. Just purchase the metal tag shape you like. take the tag and place it on the block provided in the kit. Then selected the letters you need to spell your word. Place it on the tag and tap with the provided mallet. Don’t get to worried about making it perfect. The letters being a little off gives it more character. Then tie on the tag with whatever ribbon or twine you like.

There are so many other options for tags that are available at craft stores. Just be creative and have fun designing the looks you love.


After I created the tags, I wrapped each soap with the burlap ribbon then used twine to attach the tags. To make it really pretty, I embellished them with items relating to the soaps. You can get really creative with this based on the fragrances you use.

So what do you think, are you going to try making some too? This is really a quick, easy gift idea and such a great way to give a personal touch of homemade with love. For me, a lot of gift giving is in the presentation, it tells the receiver that you put extra care into the gift and makes it so special. I hope you enjoyed this DIY and it gave you a little inspiration for Christmas gift giving. I have a lot of fun holiday inspiration coming over the next few weeks, so stay tuned and be sure to subscribe so you won’t miss any posts. Thanks for following along and I hope you have a wonderful holiday season.
Happy Crafting


")


Wonderful article and thank you so much for all the information. Making my own soaps has been on my mind for a long time. I love that they are all natural and so very beautifully packaged.. wish I was there for your friendship ING😊. Enjoy…
Hi Marie,
So glad you enjoyed the post and I hope you get a chance to make your own soap, its so fun and easy.
Thanks for following along
~Deborah
Oops that should have read friendsgiving!!!
Loved this tutorial can’t wait to give it a try!!!
Hi Vicki,
Yay so glad to hear that hope you enjoy it.
Thanks for following along.
~Deborah