Hey, are you ready for Christmas yet? I had really hoped to have this tour on a few weeks ago, but Christmas prep took over…that’s my story and I’m sticking to it! I hope you can still find something that will inspire you and give you a whole bunch of ideas for next year. Christmas is such fun way to unleash your creative impulses. It’s a time where you can work with various themes, colors, styles and put as much fun as you want into it. However, it can be very intimidating & overwhelming, but having a plan can help with that. In this post I’d like to share some fun ideas and tips that have helped me in the past.
Tip #1 Start early. I know that’s obvious but if you can, think a little ahead to be better prepared. I like to look at what the general decor trends are at the time and then use that as a direction to take my decor. That’s pretty much what the stores do and you can follow their lead for ideas. Also, you can take advantage of sales early.
Tip #2 Decide on a theme. Do you like traditional, formal, rustic? Those are a few ideas and I’ve used them all in the past. This can get expensive to change every year, so finding items that could go either way or alternating themes every other year.
Tip #3 Select a color scheme. Obviously, green and red speaks Christmas. But how about change the hue a bit? There are many shades of red & green, so you can possibly go soft or brighter with these 2 colors. However, you can also go with a neutral or white theme and pop of color or even use black as an accent. It looks beautiful with Christmas greenery
Tip #4 This is more of an after tip~inventory your decor. In the past I’ve purchased things that I then later realize I don’t even need or already have. Anyone else do this? So I have started logging my decor when I’m packing it up as the season ends. As I pack things away in the boxes, I will number the box, then write down all the contents. Once everything is packed away, I also make notes of things I may need to replace or may want for next year. Then once you have it complete, type it all up and store it in your computer files. Super easy trick and saves you money in the end! Then the following year, you can print it out and review what your needs are before you begin your shopping for the holiday
If you would like to see some Christmas decor themes from the past, you can visit this post here It’s beginning to look a lot like Christmas
Welcome To My Home

On the front porch, I kept with the rustic, traditional real greenery. I love mixing a variety of greens and it’s such a wonderful fragrance to greet your guests with.
An old sleigh and skates adds a little character and festive feel and another fun element to go with the Christmas greens.


I made these fun planters with my greenery and they add such a beautiful wow factor to outside decor. For a tutorial on how to make these you can go here SPRUCE UP YOUR DOOR STEP FOR CHRISTMAS WITH THIS EASY GREENERY PROJECT
A trick I use to find a flow in my decorating is to start with my garland or mantle . It usually sets the tone for the rest of the decor in the house. Then I move to the tree or trees. This year for my Christmas decor theme, I have selected a combination of snowy, creamy white, a mix of various greens and pops of black. I’m keeping it more neutral this year in the general living areas.

For The Mantle
This year, I wanted to have my greenery flow in front of the mantle and drape towards the stockings to create a more snowy effect. There are several layers of greenery intertwined together, and battery operated lights. I use command strip hooks to hang the stockings and then to anchor the garland on the mantle. For color and texture, I popped in some white berries & glittered pinecones.


Garland
I love a really full, flowy garland. It adds a touch of elegance and all the different greens compliment each other. For my garland I layered several types of greenery together, I think it makes the garland look more expensive and realistic. I started with a base of lighted plain, pine greenery, then layered in various types of eucalyptus, lambs ear & this pretty berry garland. Because the base greenery is wired, it is easy to wire the various greens to it. A beautiful cream & black ribbon finished off the look to tie in the black accents in the decor.


The Tree
This beautiful flocked tree is 7.5′ tall. To give it a taller appearance, I placed it on top of an old wash basin and then wrapped with a burlap ruffled skirt. The ornaments are a collection of mercury glass, vintage, and black and white of various prints to bring in the black elements. I also tucked in a beautiful snowball ball garland and black plaid ribbon for more bulk and texture.


For the centerpiece, I added various greens, frosted & mercury glass ornaments and a beautiful glass urn with paper whites.

I love to coordinate my wrapped gifts with the tree decor. It just adds another decor element to the tree and adds a pop of texture and character to the tree decor.


Kitchen
For the kitchen, I’m adding more reds to the look and keeping it a little more farmhouse. I have so much room on top of the cabinets, I wanted a bit more drama to fill the space. I loved this christmas tree sign and thought a collection of trees for a festive look. Simple mini wreaths were added to spotlight the cabinets by attaching them to burlap and ribbons.


Master Bedroom
Our bedroom is usually very neutral and soft with whites and greys. But for Christmas, I thought adding a little red would make it feel festive. I draped simple greenery on the headboard, added some real poinsettia, a red pillow with a little sparkle. The frames above the bed add a bit of architectural element and hung vintage ornaments from them for another pop of color.


For the bedroom mantel, I kept it neutral and went with a French vintage look. Mixing soft neutral greenery and adding a bit of sparkle to glam it up a bit
Guest Bedroom
This little attic room is such a fun space to decorate. I added some mini lights, Christmas pillows, and a little sleight for a tray. The pops of red add to the festive feel.

Here are a few more photos of various vignettes and decor


I made the large glitter house on the left. I purchased a pain chipboard house at Hobby Lobby. Painted it a neutral white, then adhered glitter glue and sprinkled glitter allover the house. For the roof, I adhered textured snow & glitter. Then embellished with minit wreaths and trees. It is a very simple project (but messy..you’ll be covered in glitter for a while ! )


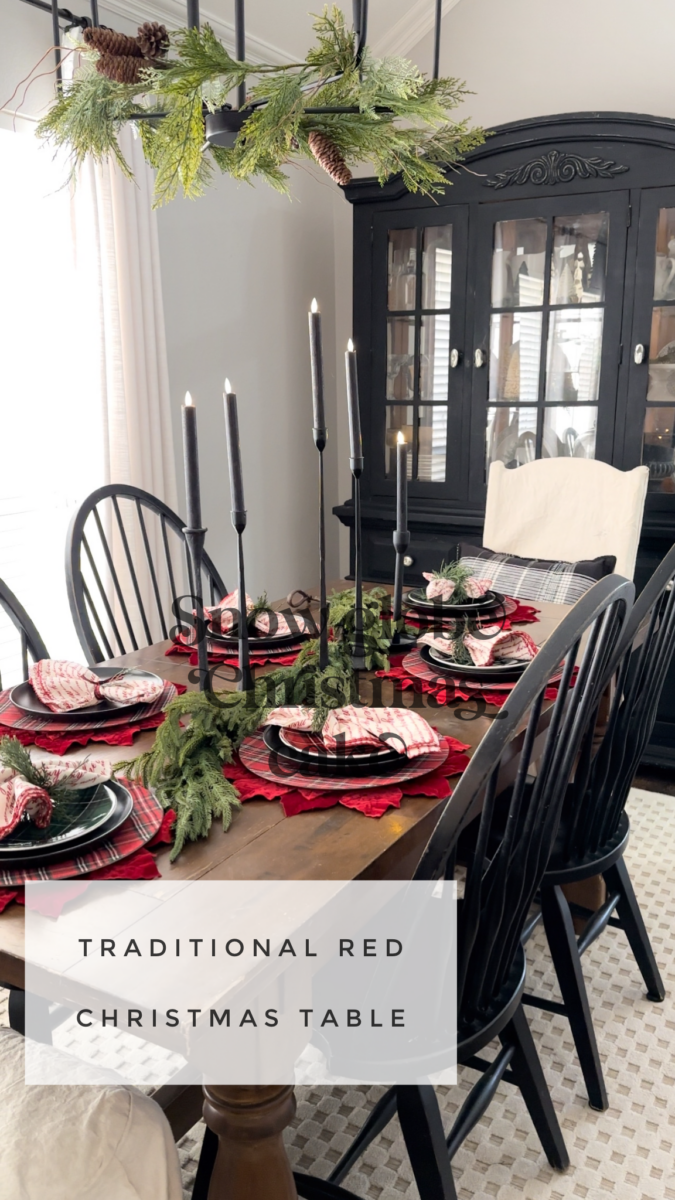
For more table setting ideas, you can visit this post Festive Christmas Table Setting Ideas
I hope you were able to find some inspiration and ideas for your own home and I would love to hear your thoughts. As always, I welcome your comments and questions and please pin & share any of your favorites.
Wishing you many blessings of this wonderful season. I hope you are able to find joy in your Christmas preparation and have fun plans with those you love


Your home is just stunning!
Hi Pollie,
Thank you so much, that is so kind of you to say. I appreciate your input and I’m so glad you visited my blog!
Hugs
~Deborah
Looking at your house made me want to become your best friend! I loved it all… Thank you for your post.
Hi Virginia,
Ha that is so sweet of you to say, thank you. I’m so glad you are following and hope you come back often. I consider all my followers as friends….
~Deborah xoxo
What a lovely home you have…decorated so very beautifully. Such a fun tour – thank you for taking us along! Cheers
Hi Qeemat,
Thank you so much, I very glad to hear you enjoyed the tour!! You are so kind.
~Deborah xoxo
Great ideas here! I can’t wait to try this for my home. I really enjoy looking into your decors. Thanks for sharing!
Hi Emily
Thanks I’m so happy you were inspired and enjoyed the tour. I hope you’ll visit often & happy decorating
Happy New Year!!
Deborah