How do you make a faux Christmas tree grow? That’s the question I was trying to figure out before starting my decorating this year. I love our tree but it’s just a bit small for the size of our great room. Our ceilings are 20 feet and a 7 foot tree looks a little small, however I was not ready to spend the money on replacing our tree. The past few years I’ve tried to elevate it on top of a turned over tub. Let’s just say it’s a miracle the tree never fell over! After doing some research, I found some inspiration from the EllaClaire blog with great suggestions and I loved her box idea. It’s such a unique look and perfect for the theme I’m using this year. So here’s how to make a Christmas tree stand.
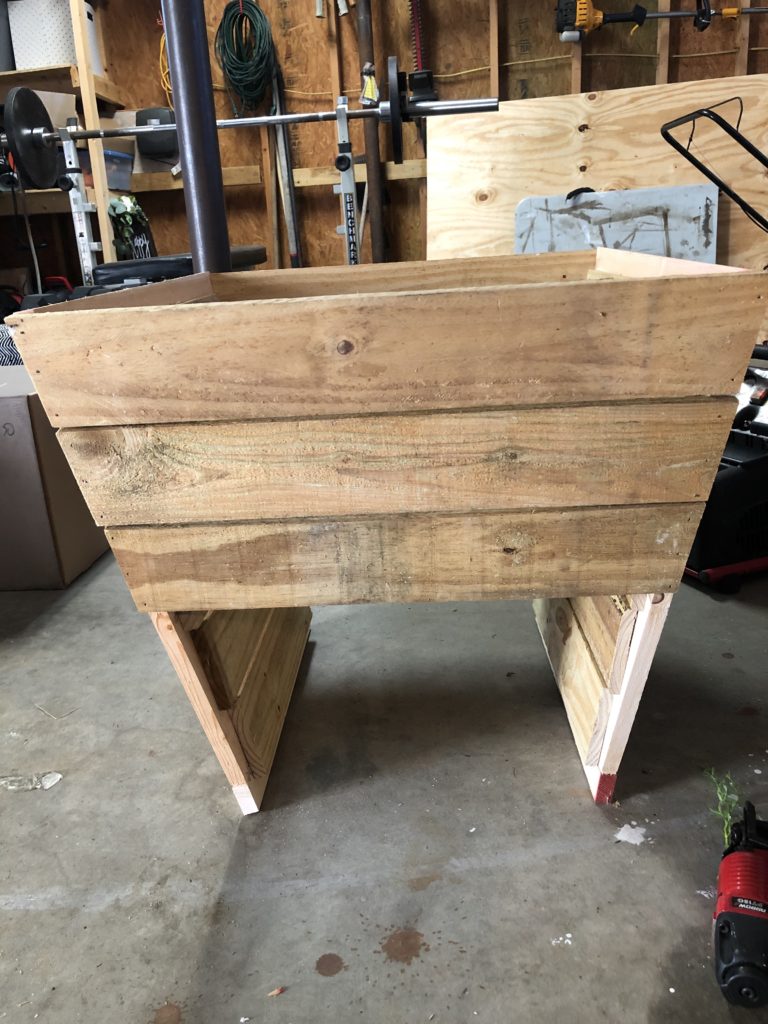
I love the basic look of this custom made tree box stand. It was pretty easy to put together and can be completed in a day.

Here are the supplies you’ll need:
- 8 3 1/4″ fence pickets
- 2 1×2 boards
- nail gun/ nails
- wood glue
- staple gun
- paint or stain
Step 1

Build the frames for sides 1 and 3. We assembled the frame by using wood glue first then stapling the edges together. It actually will be sturdy once all the boards are attached.
Top board is 24 3/4″ cut at a 9 degree angle
Bottom board 16 3/4 ”
Side boards 21″

Step 2
Nail the slats into the frames for sides 1 and 3. The frame side is the outside so you don’t have to have the boards perfect, that will be the inside of the box and you won’t see that part.
Slat measurements:
21 1/2″
20 1/2″
19 1/2 ”
18 1/4″
16 3/4″

Step 3
Cut out the angled slats for sides 2 and 4 at a 10 degree angle. The measurements are the widest part of the board.
25″
23 5/8″
22″
20 1/3″
19″

Step 4
Assemble the box by adding the slats to sides 1 and 3 opposite of each other. These will make up sides 2 and 4


Then stain or paint. I stained mine with Early American but I left the fence slats as is. I liked the natural raw wood look for mine.

Tree Stand
Supplies:
- Utility bucket
- 20″ pvc pipe but this will depend on the height you want for your tree.
- Pvc cap
- Quickrete concrete mix

Step 1
Mix up the concrete in the bucket. It should be the consistency of cake batter

Step 2
Place the cap of the pipe on the bottom then insert into your concrete mix. We built this contraption with scrap boards to keep the post level and stable as the concrete dried


I just love the rustic and unique look it gives our tree. It also added just the height I was needing for this space. Now it’s time to get some gifts under that tree. I’ll be sharing some awesome gift guides with sources and all this week I’ll be sharing some easy and beautiful homemade gift ideas you will love. Be sure to subscribe to my weekly newsletter to stay update on all that’s new at Hip and Humble Style. Also, you will get special access to all my free printable. There are many gift tags and fun additions you can add to gifts there. Wishing you all a wonderful holiday season.
Happy Decorating

