
For our house, Spring = projects…. If you’ve been following my blog, you’ll know that we just moved in to our Lake home about 10 months ago. It’s hard to believe we are almost to our one year anniversary. There have been so many changes and improvements in our short time here, but I think this is one of my favorites so far. I love projects that are simple and low-cost but make a big impact. This one is definitely that project. And here’s what we did….
The hood that currently exists is a plain old metal piece with no personality. I’ve always loved a more ornate hood and I think they add so much charisma to a kitchen. They give the area more personality and add to the aesthetics of the entire room. The options are endless.

With limited space I knew I wanted something with some texture and to make the cabinets look more custom and expensive. Originally my plan was to paint it white to match the cabinet color. However, when we added the little butcher block island, I really love the warmth the rich wood brings to the room, so decided to stain it a warm wood to match and give another element to the room by added the wood grain look.
Supplies
Foam core board
1/4 ” plywood
(2)1 x 4″ x 8′ pine board
(1) 1 x 2″ pine board
Finishing nails
Liquid nails
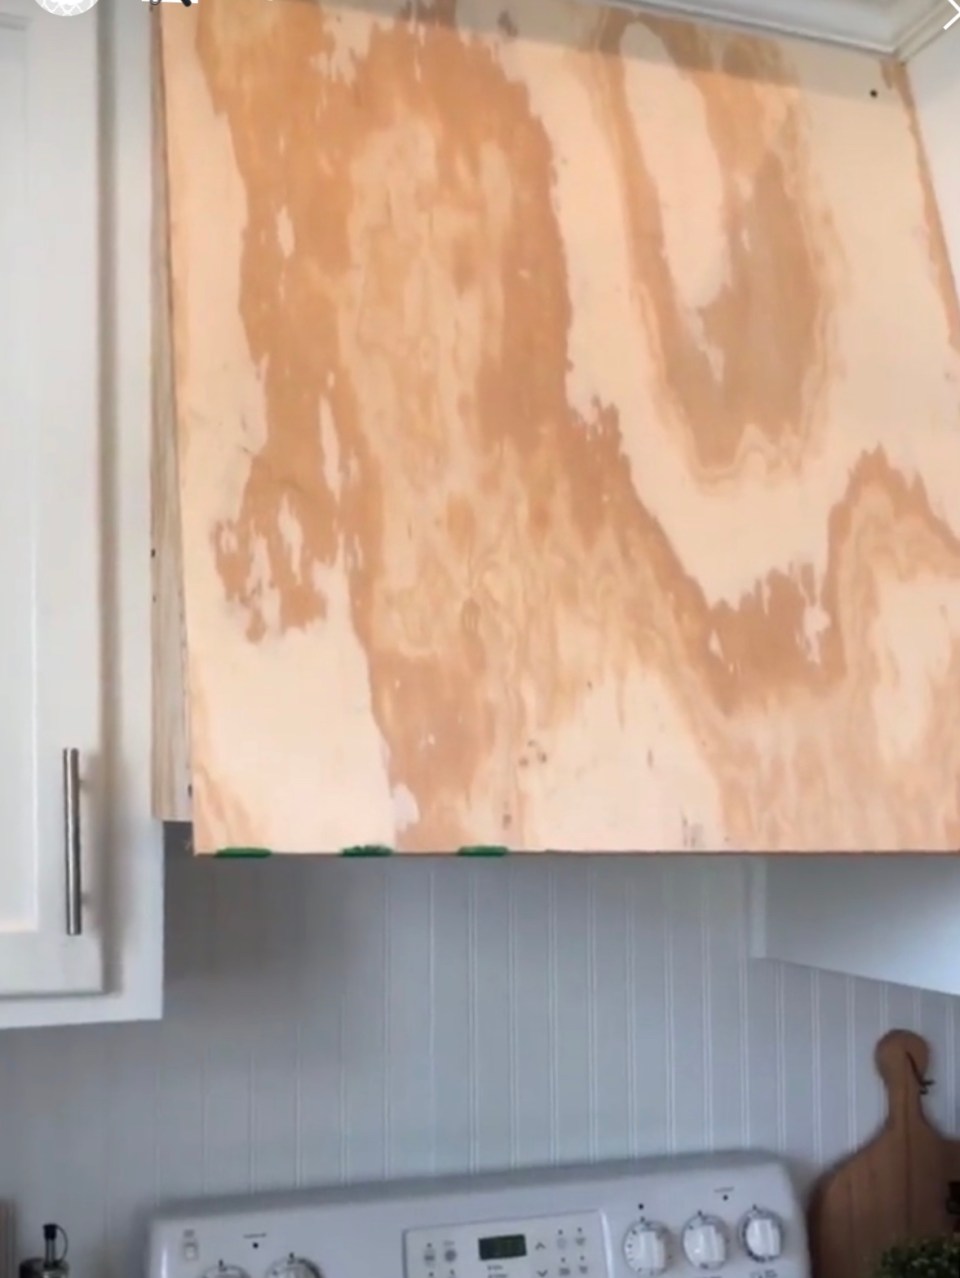
First, we made a pattern using foam core board. It is easy to cut and is more substantial to hold its form. I measured the distance from the top of the cabinet to the bottom of the hood then we extended that a fe more inches We wanted to be sure we left enough of a gap underneath to reach our hands under to the fan and light knobs.
We had discussed possibly hinging the top to have the option to life the door and still have the cabinet space for storage. However, after planning the layout, we decided it would be too heavy and bulky to handle.
Once we had the pattern of the pieces all laid out, we taped it all together to create the hood prototype.
Next, we removed the cabinet doors
Then, we took the prototype apart and laid out the pieces on the wood to cut. Once we had all the pieces traced out, we then cut everything and started putting it together.


1- we attached a 1 x 2″ at the top to anchor the sides


2- then attached the side pieces

3- Next, we added a piece of plywood for the front base

4-then we placed a 1 x 4″ horizontally across the bottom of the base board

5- once that piece was attached it was time to start adding our vertical 1 x 4 “boards. we had intended to place each board side by side but as we started laying our the boards, we realized we didn’t have enough of the pine boards. So we decided to space each board about an inch apart and I love how it looked. This gave a little more dimension and texture to the overall look. We used liquid nails to attach these boards because I did not want nails showing. They were cut to fit snuggly between the top and bottom boards


6- stain the hood. We used Minwax American walnut to give it a very rich and warm look

We are so thrilled with the completed project and the overall effect that it gave the entire look of the kitchen. It feels like a gourmet kitchen now….well maybe not gourmet but it sure adds a lot more personality and character to the space.
I hope you were able to get some inspiration and at least this was a helpful DIY for your own project possibilities. Let me know what you think and if you have any questions.
Thanks for following along and feel free to pin any of the ideas you like on my page.
Happy Decorating !


")


Love this! Great job ~ looks very professional!
Thank you, we are so happy with the end result. It made such a big difference in our tiny kitchen.
I really appreciate your feedback & Thanks for following, I really appreciate it. Come back again soon…
~Deborah
I love this! Your how to’s are great! The open area where you store your coffee; did you create that, as well? Was that an original cabinet? Will you do a how to or explanation of that? Thanks! Great job!
Hi Lana,
You are so kind, thank you!! I’m so glad you liked everything.The space where the coffee is was where the old microwave was from the previous owners. We needed to replace it and since I’m only 5’3″ it was a little too high to make it functional. So we placed the new one in a pantry and that left this space bare. Our coffee maker is just below that cabinet, so out of necessity, I placed a little coffee bar above. Some things in decor actually end up as accidents or necessary functional changes that happen to turn out really cute! haha
Thank for your feedback and following along…. I hope you’ll come back often!!
~Deborah
looks great!
Hi Amy
Thanks , we love how it turned out!
Happy New Year
~Deborah
Hey, I love this. My only question is how do you keep using the light? Did you leave enough of a space to reach up there? That is my current issue and why I haven’t done a project similar.
Thanks!
Hi Sara,
Yes, we left enough room to reach up and access the fan and the hood light. We just made sure to extend the hood out a little bit. It really helps using foam core board to create a prototype first to see what your dimensions need to be.
Hope that helps and thanks so much for following along, really appreciate it!
~Deborah
I have this exact vent a hood and have wanted to do the exact same thing. I’m so glad you had a DYI tutorial on this. My concern has definitely been being able to reach light and fan. How much hand gap did you leave since you have to reach above the actual hood?
It looks great! Love the dimension it gives to the existing cabinets.
I love how it turned out ! I also want to do the same with my kitchen but I have a question I noticed that on one side of your cabinet had a extended space where he put the triangle piece of wood mine doesn’t have that how do I do that with mine? Thanks !
Hi Esmeralda,
It’s hard for me to say without seeing it. We extended it out to an angle so that you can put your hand underneath and still have access to the fan and light on the original vent. Hope that makes sense. One side looks like it sticks out more because the cabinets are not flush on both sides of the hood. The cabinet on the right is extended out further that the one on the left. SO we had to make one side larger than the other to fill the two different sides.
Thanks for following and hope that helps a little?
~Deborah
Great article! Give me lots of valuable information about the vent hood. This is a great article, and something I think needs to be communicated more often. Keep sharing such informative posts. Thanks!!
Hi, you are really done awesome work. I love this work. This hood look so beautiful. You mention overall work step by step so nicely. A nice blog to read. Thanks for sharing. Have some good time…..
My Machineries recently posted…Best Humidifier for Asthma | Comparison, Guide and Reviews 2021
[…] HIP & HUMBLE STYLE . COM […]
[…] HIP & HUMBLE STYLE . COM […]